This is the 3rd post of the Intro to Power Pivot series. Jump to the 1st post of the series here.
A date seems to rarely be written the same way when derived from different teams or source systems. In our Intro to Power Pivot series, the budget file uses a MMYYY format, and the actual file uses a MM/DD/YYYY format.
Creating a standard Date Table is a helpful tool for using Power Pivot. The file created in this lesson can be used for this series and as a calendar Lookup Table on your future Power Pivot models.
Load Lookup Table
Make a Date Table that lists each month for 2 years using both the MMYYYY and MM/DD/YYYY format and starting with 1/1/2012; or download the file below. Format as Table. Save and close the workbook.
⬆

Load the Date Table to Power Query, by going to Data, Get Data, From File, From Workbook.
Select the location where you saved the Budget file downloaded above. Import.

On the Navigator tab, select the table and then Transform Data (or Edit) to open the Power Query Editor
[Yep, Power Query still plays a pivotal role in Power Pivot. If you missed those lessons, start here]

Process Lookup Table
Since this will be a Lookup (LU) Table, rename the query Date_LU.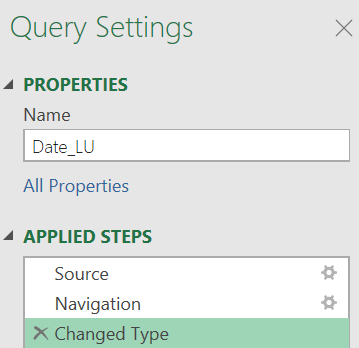
Power Query correctly assigned the data type of Date to the Start of the Month column. However, for the MMYYYY column, the leading zeroes were lost. Change the type to Text, which will retain the leading zeroes.

When selecting to change the data type, Power Query will prompt with the alert below. Select "Replace current".

Next, we are going to expand the Date Table by adding in Year, Month, Month Name, and an Index Column.
With your cursor in the Start of Month column, go to the Add Column tab, Date, Year, Year. This adds a new column with the year.

Move your cursor back to the Start of Month column, and go to the Add Column tab, Date, Month, Month. This adds a new column with the month number.

Move your cursor back to the Start of Month column, and let's add the Month Name. Go to the Add Column tab, Date, Month, Name of Month.

Next, let's sort the Table. Select the Start of Month column, and on the Home tab, select the Ascending sort button.

Now let's add an Index Column. On the Add Column menu, select Index Column, From 1.

On the Home tab, Close & Load, Close & Load To. Then select, Only Create Connection and check the box to "Add this data to the Data Model".

Save the workbook.
💥BEST PRACTICE TIP
For your future Data Models, save this workbook to use as a Date Table template. 💥
In this lesson, you learned how to:
- Create a calendar Lookup Table;
- Add Year, Month, and Name of Month columns to a query;
- Sort a column; and,
- Create an Index column.
Next post: Building relationships
No comments:
Post a Comment